Showing posts with label origami. Show all posts

Monday, January 30, 2017

Origami Music Boxes


Today I will be showing you how to make origami boxes using music sheets. The music sheets will give it a pop of look instead of using plain paper. "Sixteen pictures may be just enough to teach you how to make this origami box. It's easy once you get started" (Wasinger, 57).


1. Fold one corner to the opposite edge of the paper. Then cut the excess.  


                                                                                                                          2. Unfold the paper to the  original                                                                                                                   position. Fold up-sided.


3. Fold the inner sides.


                                                                                              4.Fold both flaps upward to the top corner.
                                                                                                  Do the same to the other side.


5. At this point it should look like this.


                                                                                          6. Fold the flaps on the sides to the center.                                                                                Repeat this step to the other side.


7. Fold the bottom triangles to the center and do so to the other side.
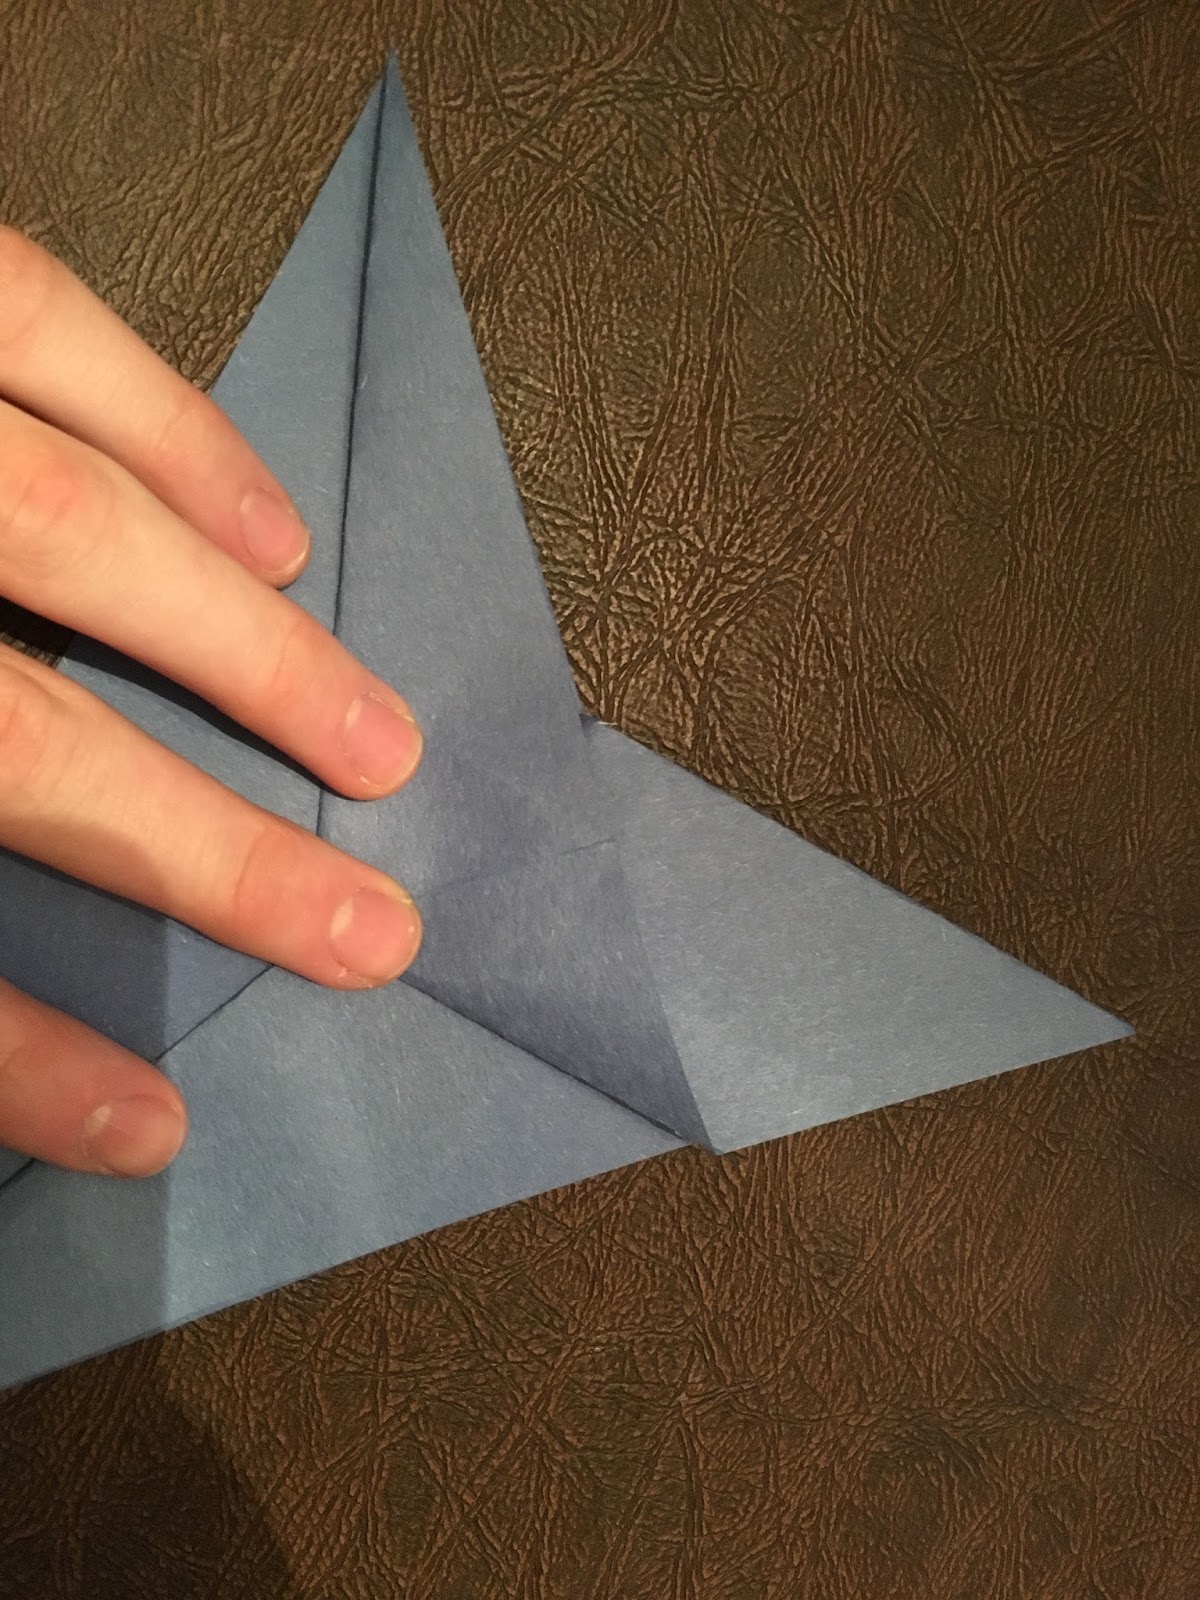
                                                                              8. Then crease all of the corners together like so.


9. Blow through the hole to inflate the box.


                                                                                                       10. And there you have it!


That is all it takes to make this origami box. It is very simple and takes little time to do. Do you like origami? If so, what is one thing you have made before?


Wasinger, Susan. Eco-Craft: Recycle-recraft-restyle. New York: Lark, 2009. Print.


Sunday, January 29, 2017

Origami Bunny

For the fourth origami project, I will be creating a rabbit, or bunny (is there even a difference?). Anyway, I just think that the well crafted version of an origami rabbit looks dope. Once again however, at my origami skill level, who knows how the final product will look? The book I will be using today is "Origami Farm Animals" by Lisa Miles. My incompetence in the beautiful art of origami may be exposed further in this project, as the details are a big part of the bunny, with the author saying "The rabbit has sensitive ears... here's how to make an origami version - complete with long ears," (Miles, 21). The reason I use this quote is that a big part of rabbits are their ears, and the amount of folds and details that go into creating ears could be a problem.

STEPS

Step 1: The first few folds are simple, a few valley fold towards the center. Valley folds are a very important fold throughout all of origami, no matter how simple or complex the project is.


Step 2: The next step once again, looks like it is quite a few steps ahead. In reality, it is about the same as the above picture, only with those valley folds already intact, and the corners folded in towards the middle. Then, turn those same flaps inwards and flatten them down. This is all in the sam step, but each picture is from the opposite side of the paper. This step alone sadly took me about half an hour because I could not figure out how to make the triangle folds in the middle.


Step 3: The third step is to mountain fold the whole thing towards the middle to create the body. Then, valley fold the left corners towards the middle to begin to create the face and ears of the bunny
.

Step 4: Now, it is time to create the legs of the bunny. Mountain fold the back end of the bunny towards the head, and unfold it. then, inside the reverse fold the legs back towards the head, tucking the legs under the body. Draw a black dot for an eye on the bunny. The step for this was very confusing to me, saying "Unfold, then make an inside reverse fold to create the feet," (Miles, 23.) To me, I think there was just far too many directions in this one step and was therefore more difficult.


Looking back on this, this was much harder for me personally than the pig, candy cane, or the duck. The book did not do a good job of representing dimension and directions for  folds. The finished product does slightly resemble a bunny, but I am not satisfied with this poor excuse for origami. What do you guys think of my progression in origami skills, or lack thereof?

Let me know in the comments below. Thanks for reading my blog.


Miles, Lisa. Origami Farm Animals. New York, New York: Gareth Stevens Publishing, 2014. Print.

Origami Ducky

The next origami design I will be crafting today will still come out of the second book I used, "Origami Farm Animals" by Lisa Miles. While this book is a child reading level, the origami (to me at least) might as well be rocket science. In the beginning I had thought that maybe origami would be a fun little craft or hobby I could have, but all this has done is make me hate origami for my lack of skill in it. The sad thing about this is that this simple form of art has been around so long and mastered by many, but I still struggle to make basic folds. The author just makes me feel worse about how many people are good at origami by saying "Origami has been popular in Japan for hundreds of years and is now loved all around the world" (Miles, 4). This basically means anyone can do it, except me.

Today I will be crafting an origami duck, which is ranked by the book as an easy thing to create. Of course, this ranking means absolutely nothing to me as I am trash at origami. On that note, let's get started.

STEPS

Step 1: The first thing you want to do in creating a duck is to make a kite fold. this is no one step fold however. The instructions on this fold at the beginning of the book include a multitude of basic folds in order to create this one base fold, mostly consisting of valley folds (Miles, 6). This is what the instructed kite fold should look like.


Step 2: The next step is to valley fold the top corners in to meet the center crease. This looks like it jumped a few steps ahead because the last picture was displaying the valley folds unfolded. In reality, they are only one step apart.


Step 3: The third step is to take both flaps and fold them in towards the center fold. This creates the shape of the body of the duck. The next steps were much more difficult for me.


Step 4: The fourth step is to create what will eventually be the tail of the duck. This step was confusing for me because the inside reverse fold is not well captured in pictures, so it took me multiple tries to complete. You do this to both sides so that there is now both a head and a tail.


Step 5: This is basically the last real step. Another inside reverse fold is applied here to one of the sides to create the beak of the duck. Mine came out weird as the neck is too short, making the body of the duck seem extremely large. Then, add a black dot to the headed side to represent eyes.


On a scale of quality, I would say this is smack dab in the middle between the origami pig and the origami candy cane. This still looks pretty bad, but not nearly as bad as the train wreck of the origami candy cane. This week, I would like to know what all of you guys think or origami as a whole? Would you personally consider this as an art form? Why or why not?

 Let me know in the comments below. Thanks for reading my blog.


Miles, Lisa. Origami Farm Animals. New York, New York: Gareth Stevens Publishing, 2014. Print.

Origami Flapping Bird


I will be showing you how to make an origami flapping bird. Origami is a very well know art around the world, and very fascinating to many people. "Origami is an essential part of growing up; to impress your friends and relatives with the ability to make a talking dragon, a flapping bird, or a working catapult" (Lang 6). If you think that is interesting to be able to make those things with paper, then try this!

Materials:
-Paper
-Hands


Step 1: Fold and unfold the paper vertically
and horizontally, then fold and unfold it
both ways diagonally.

Step 2: Fold the sides in and collapse the
paper to make a triangle then flatten.

Step 3: Fold the bottom left flap up to
line up with the opposite top right
edge.

Step 4: flatten the excess
paper in the gusset down-
ward to line up with the
edge. 

Step 5: Flip over the paper and fold
the flap on the bottom left over to
the right side of the figure.


Step 6: Repeat the steps from 3 and 4
with the flaps that are left so it all lines up. 


Step 7: Wrap the bottom layers up and
around so that you turn the point inside
out to make the neck. flatten out the
crease you just made.

Step 8: Wrap the top layers around and
turn the tip of the point inside out.
flatten the creases you just made. 


Done!

"Most origami is designed for looks, but the origami in this book is designed for action. For example, the flapping bird" (Lang 6).
 

I don't know about you but i think the Flapping bird is a very cool origami project and i would definitely recommend making it. It is fun to make and not very hard. The best part about it is the feeling of accomplishment when you finish it and the outcome of the origami, especially when you can make it move or flap its wings.

Citation: Lang, Robert J. Origami in Action: Paper Toys That Fly, Flap, Gobble, and Inflate! New York, St. Martin's Griffin, 1997.

Cootie Catcher

I will be showing you how to make an origami cootie catcher. "Another way of using the Cootie Catcher is as a fortune teller" (Lang 69). The fortune teller is another very popular way to use it. You have your subject guess a number, then count it off, alternating between the two positions. The subject then guesses a flap, which is lifted up to reveal a fortune underneath.

Materials:
-Paper
-Hands

Step 1: Fold the paper in half along each
diagonal and unfold.

Step 2: Fold the 4 corners into the center
of the square.

Step 3:Turn the paper over and fold the four
corners to the center again. Then fold the bottom
edge up to meet the top edge. Fold the lower left
corner up in front, fold the lower right corner behind.

Step 4: Open the large pocket in the center and squeeze
the sides toward each other. Adjust the positioning of the
4 flaps so they all stand straight out from each other.

Step 5: Pull out the 4 flaps and the
cootie catcher is finished.

There will be one way that is clean.


The other flaps that are visible one way
but not the other way, draw some bugs,
which are the "cooties".    


That is how you make a Cootie catcher which also could be used as a fortune teller. To use the cootie catcher, you put your fingers into the pockets, you can open the top of the cootie catcher in two different ways.

Do you care a lot about the environment? Do you like making cool figures and toys out of paper? Then origami is the thing for you,"Recycling used paper into cootie catchers is not only fun and entertaining; it's ecologically sound, too" (Lang 6). Now, if you are ever bored at home with nothing to do, and you have extra paper that was going to be thrown away, you can have fun making cool origami gadgets and figures. 

Citation: Lang, Robert J. Origami in Action: Paper Toys That Fly, Flap, Gobble, and Inflate! New York, St. Martin's Griffin, 1997.

Flapping Butterfly

"The art of folding shapes from an uncut sheet of paper is called origami, which is a Japanese word meaning "folded paper" (Lang 6). Origami does not require anything except paper, so it is something that almost anybody can do. In this blog, I will be showing you how to make a flapping butterfly with paper, and only paper.

Materials:
-Paper
-Hands
Step 1: Fold a square piece of paper
 in half, then cut it on the crease.


Step 2: fold the paper in half, like the picture, then
fold the 4 corners in to the center crease.

Step 3: Fold the paper together then make a crease
by folding the bottom edges up and pinch
through both layers t the center, but do not
crease the entire length of the paper.

Step 4: Bring the wing tips together so that the crease
made in step 4 is on the outside. Insert a finger into the
loop while holding the wingtips together, then slide your
fingers down to form the paper snugly around your finger.

Step 5: Reinforce the dent in the paper that
was made in step 3.


Finally, with a finger and thumb on each side of the body, pinch the fingers together to make the butterfly flap its wings!

That is how you make an origami flapping butterfly. Are you someone who usually likes to skip instructions and doesn't like reading them? Well, with origami it is very important to read the instructions and look at the pictures of how to make the origami projects. Even in the book Origami In Action it says, "You'll have the best luck folding if you look at each step AND read the words underneath each step before you start folding" (Lang 9). so obviously it is good to read the instructions so you know what you are doing.

Citation: Lang, Robert J. Origami in Action: Paper Toys That Fly, Flap, Gobble, and Inflate! New York, St. Martin's Griffin, 1997.


Saturday, December 31, 2016

Origami Pig

It turns out that the book I was originally writing about, which included my first blog post, unfortunately only had three different origami designs. So, today I will be using the designs from the book "Origami Farm Animals" by Lisa Miles. One of the key folds since the book is about animals is the Inside Reverse Fold, the book saying "An inside reverse fold is useful if you want to make a nose or a tail," (Miles, 5).

Today, I will be folding an origami pig, which is ranked as a medium difficulty animal to make according to the book.

STEPS

Step 1: The first step to creating an origami pig is to start with a valley fold, one the base folds. Unfold to the colorless side.


Step 2: The next step is valley folding into the middle, then valley fold in half from left to right. Unfold the second valley fold.


Step 3: Valley folding the corners towards the middle then creates a hexagonal shape. This is closer to the final shape of the pig, as most of the basic folds have already occurred. Repeat for all 4 corners.


Step 4: Next the book says to gently open the right corner, and flatten it out (Miles 10). The key word there was gently, as I rushed one of the corners and it came out uneven. The final product turned out okay, but it is much neater and easier if you listen to the book's advice.


Step 5: The next fold is a mountain fold under the other side of the paper. This begins to create the shape of the body for the final product.


Step 6: Coming to a close, a mountain fold is used to make the legs of the animal. If executed correctly, the pig should be able to stand by itself. In this stage, it should begin to resemble an animal.


Step 7: The final step is to mountain fold the front and back ends to create the tail and the nose. Then, inside fold one of the sides so that it resembles a nose. Make a black dot to show eyes on the nose side. And voila! You have an origami pig.


Compared to my last project, this is a major upgrade overall. Even though it's not the greatest, I'm proud of my improvement from the my Origami Candy Cane blog post (yikes). Although pointless to some, origami can mean a lot to someone else. For example, I gave this origami pig to my brother and he threw it away. So what are your guys' thoughts on giving origami as small gifts? I'd also like to hear feedback on what I should work on, as well as opinions.

Let me know in the comments below.

Miles, Lisa. Origami Farm Animals. New York, New York: Gareth Stevens Publishing, 2014. Print.