Showing posts with label Mang. Show all posts

Sunday, January 29, 2017

Origami Flapping Bird


I will be showing you how to make an origami flapping bird. Origami is a very well know art around the world, and very fascinating to many people. "Origami is an essential part of growing up; to impress your friends and relatives with the ability to make a talking dragon, a flapping bird, or a working catapult" (Lang 6). If you think that is interesting to be able to make those things with paper, then try this!

Materials:
-Paper
-Hands


Step 1: Fold and unfold the paper vertically
and horizontally, then fold and unfold it
both ways diagonally.

Step 2: Fold the sides in and collapse the
paper to make a triangle then flatten.

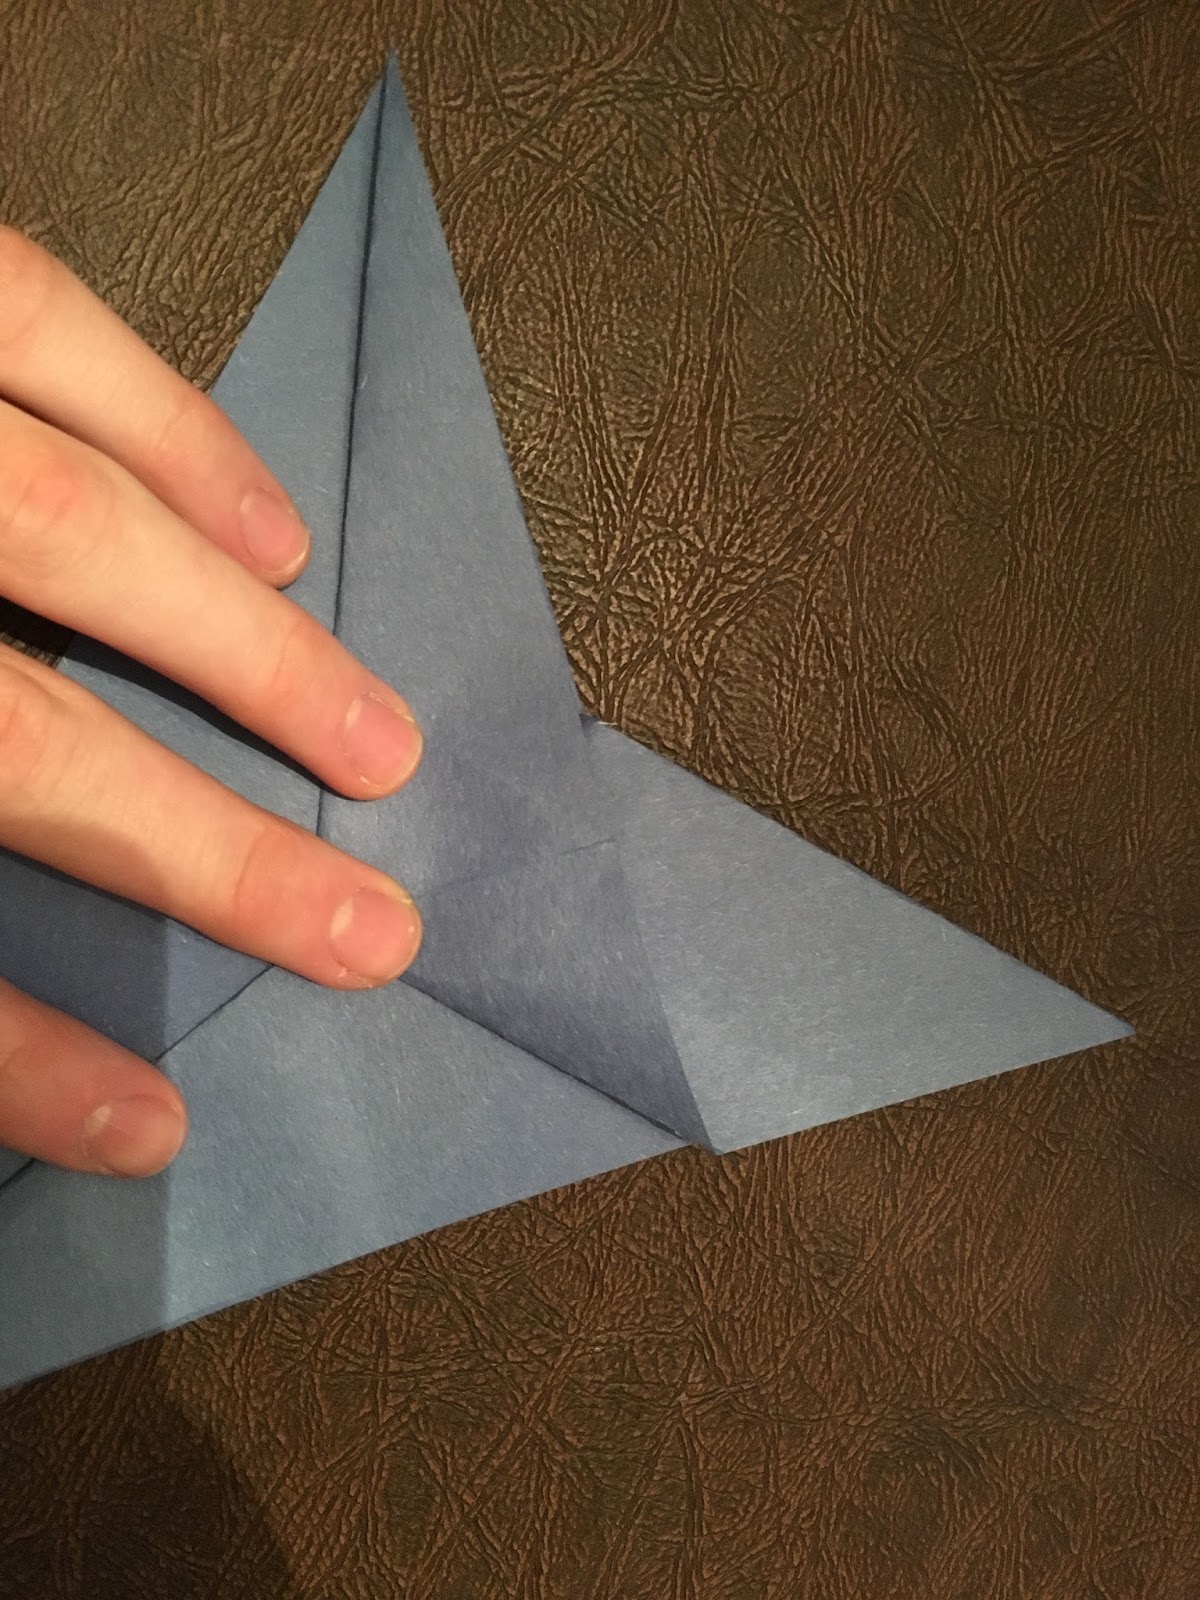
Step 3: Fold the bottom left flap up to
line up with the opposite top right
edge.

Step 4: flatten the excess
paper in the gusset down-
ward to line up with the
edge. 

Step 5: Flip over the paper and fold
the flap on the bottom left over to
the right side of the figure.


Step 6: Repeat the steps from 3 and 4
with the flaps that are left so it all lines up. 


Step 7: Wrap the bottom layers up and
around so that you turn the point inside
out to make the neck. flatten out the
crease you just made.

Step 8: Wrap the top layers around and
turn the tip of the point inside out.
flatten the creases you just made. 


Done!

"Most origami is designed for looks, but the origami in this book is designed for action. For example, the flapping bird" (Lang 6).
 

I don't know about you but i think the Flapping bird is a very cool origami project and i would definitely recommend making it. It is fun to make and not very hard. The best part about it is the feeling of accomplishment when you finish it and the outcome of the origami, especially when you can make it move or flap its wings.

Citation: Lang, Robert J. Origami in Action: Paper Toys That Fly, Flap, Gobble, and Inflate! New York, St. Martin's Griffin, 1997.

Cootie Catcher

I will be showing you how to make an origami cootie catcher. "Another way of using the Cootie Catcher is as a fortune teller" (Lang 69). The fortune teller is another very popular way to use it. You have your subject guess a number, then count it off, alternating between the two positions. The subject then guesses a flap, which is lifted up to reveal a fortune underneath.

Materials:
-Paper
-Hands

Step 1: Fold the paper in half along each
diagonal and unfold.

Step 2: Fold the 4 corners into the center
of the square.

Step 3:Turn the paper over and fold the four
corners to the center again. Then fold the bottom
edge up to meet the top edge. Fold the lower left
corner up in front, fold the lower right corner behind.

Step 4: Open the large pocket in the center and squeeze
the sides toward each other. Adjust the positioning of the
4 flaps so they all stand straight out from each other.

Step 5: Pull out the 4 flaps and the
cootie catcher is finished.

There will be one way that is clean.


The other flaps that are visible one way
but not the other way, draw some bugs,
which are the "cooties".    


That is how you make a Cootie catcher which also could be used as a fortune teller. To use the cootie catcher, you put your fingers into the pockets, you can open the top of the cootie catcher in two different ways.

Do you care a lot about the environment? Do you like making cool figures and toys out of paper? Then origami is the thing for you,"Recycling used paper into cootie catchers is not only fun and entertaining; it's ecologically sound, too" (Lang 6). Now, if you are ever bored at home with nothing to do, and you have extra paper that was going to be thrown away, you can have fun making cool origami gadgets and figures. 

Citation: Lang, Robert J. Origami in Action: Paper Toys That Fly, Flap, Gobble, and Inflate! New York, St. Martin's Griffin, 1997.

Flapping Butterfly

"The art of folding shapes from an uncut sheet of paper is called origami, which is a Japanese word meaning "folded paper" (Lang 6). Origami does not require anything except paper, so it is something that almost anybody can do. In this blog, I will be showing you how to make a flapping butterfly with paper, and only paper.

Materials:
-Paper
-Hands
Step 1: Fold a square piece of paper
 in half, then cut it on the crease.


Step 2: fold the paper in half, like the picture, then
fold the 4 corners in to the center crease.

Step 3: Fold the paper together then make a crease
by folding the bottom edges up and pinch
through both layers t the center, but do not
crease the entire length of the paper.

Step 4: Bring the wing tips together so that the crease
made in step 4 is on the outside. Insert a finger into the
loop while holding the wingtips together, then slide your
fingers down to form the paper snugly around your finger.

Step 5: Reinforce the dent in the paper that
was made in step 3.


Finally, with a finger and thumb on each side of the body, pinch the fingers together to make the butterfly flap its wings!

That is how you make an origami flapping butterfly. Are you someone who usually likes to skip instructions and doesn't like reading them? Well, with origami it is very important to read the instructions and look at the pictures of how to make the origami projects. Even in the book Origami In Action it says, "You'll have the best luck folding if you look at each step AND read the words underneath each step before you start folding" (Lang 9). so obviously it is good to read the instructions so you know what you are doing.

Citation: Lang, Robert J. Origami in Action: Paper Toys That Fly, Flap, Gobble, and Inflate! New York, St. Martin's Griffin, 1997.